A mass-produced motorcycle has to be built to fit a range of different-sized riders. The riding position of the VFR1200 is a great compromise between comfort and sportiness but it doesn't quite fit my 5'9" frame to a "T".
The seat is very supportive and comfy, but only when your bum is scooted all the way back in the saddle. For my limited height and reach, this makes the distance to the handgrips a bit of an uncomfortable stretch.
Heli's handlebar kit for the VFR brings the grips up 2 inches higher, 1 inch closer, and an inch wider. I picked up a set second-hand from a member at VFRDiscussion who bought them new but preferred the stock position.
Heli posts a great set of
installation instructions on their site so I won't bore you with a step-by-step tutorial, but I'd like to offer some tips for adjusting them.
The Helibar kit is of quality design and manufacture. The welded and machined pieces are heavier and feel sturdier than the cast aluminum stock clip-ons. They are powder coated with a rich glossy black finish and it is clear that a lot of design and testing was neccessary to get the dimensions perfect while retaining the stock cables and hydraulic lines. The cockpit on the VFR is built to a very specific fit, with only the exact amount of room available for the handlebars to swing between the windshield frame and fuel tank. The Heli designers were clever enough to provide the more comfortable position while retaining the stock cables and lines by simply re-routing the throttle cables. This is specified in their instructions.
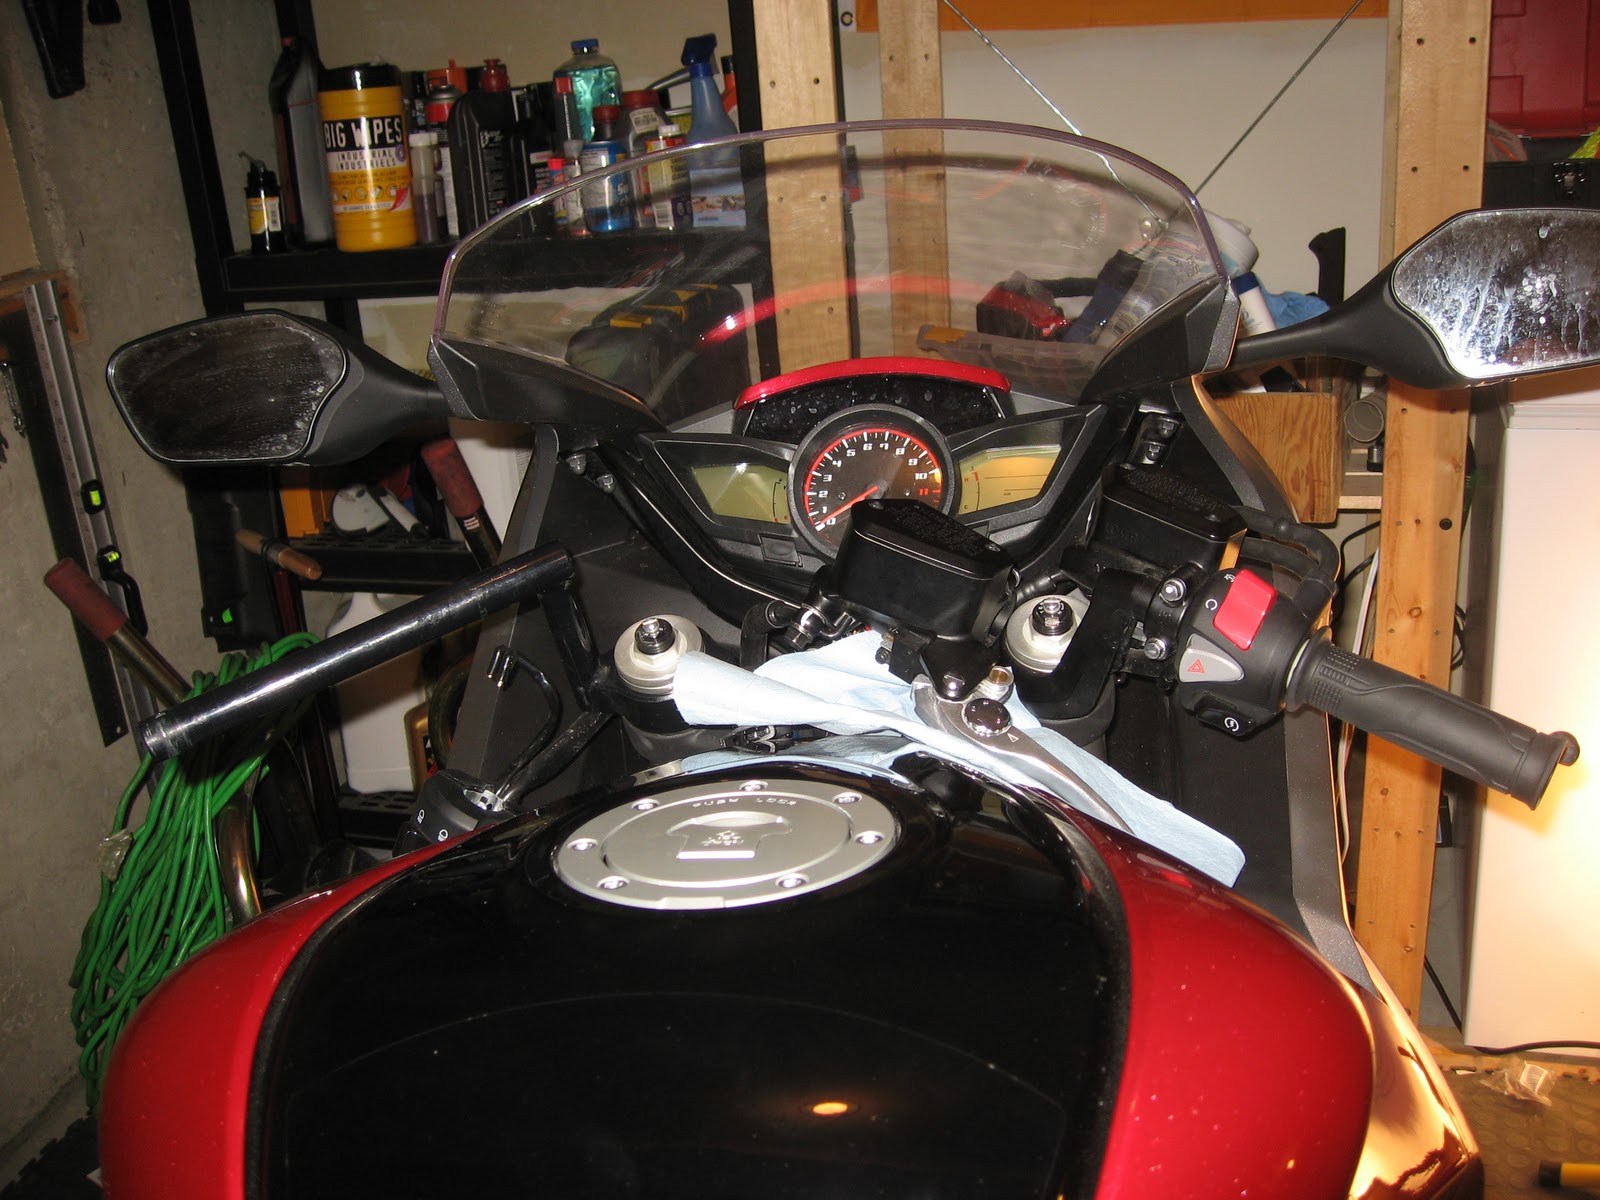
The helibars don't have a metal "tab" like the stock bars to locate them at the right angle, so it is up to the installer to get it just right. The right handlebar with its throttle assembly and brake master cylinder leaves the least room for adjustment, so I aligned that side first. I turned the bars all the way to the right, then turned the bar as far rearward as it would go before the starter button touched the tank, leaving about 1mm of clearance. In this position, when the bars are turned all the way to the left, there is just a hair's width between the throttle cables and the windshield frame. I adjusted the left bar to match the angle, using a set of digital calipers measured between consistent reference points.
In addition to the recommended cable re-arrangement, I also adjusted the brake line a bit. Once installed, it formed a dangerous-looking kink right below the banjo bolt on the master cylinder, so I very carefully loosened the bolt and turned it a few degrees to give it a more natural path. Be careful if you try this not to loosen it too much or you could introduce air into the brake line.
I won't get a chance to ride the bike until at least late March, but just sitting on it in the garage I can tell that it's going to be a lot more comfortable for me.
Here's a comparison of the Helibar on the left and the stock clip-on on the right.
The added height and "pull-back" ar ea little more obvious here:
Not a lot of room for error:
Helibars installed:
Brake banjo rotated clockwise a few degrees to relax the line:
Finished product: